EngageBay Inline Form is one of the system's lead capturing features. It is a form that you can embed to a certain page on your website and it will appear like part of the website. EngageBay Inline form is highly customizable to easily blend with your websites theme.
Besides embedding the form on a webpage, EngageBay also hosts its Inline form. This enables you to share the “permanent URL” of the form - allowing you to gather leads even if you don’t have a site.
The steps below will show you how to create an Inline form in EngageBay:
1. On your dashboard, hover your mouse over "Forms" tab click on 'Inline Forms', then press “Create Inline Forms” button.
2. Name your form and pick a style for your form or create a custom one. You may choose from a variety of pre-created forms, based on what suits your website.
3. The next step would be to enter text and basic settings of your form under "change text" sub-tab. Change the text and other settings on the left pane and you should be able to see a preview of your form on the right.
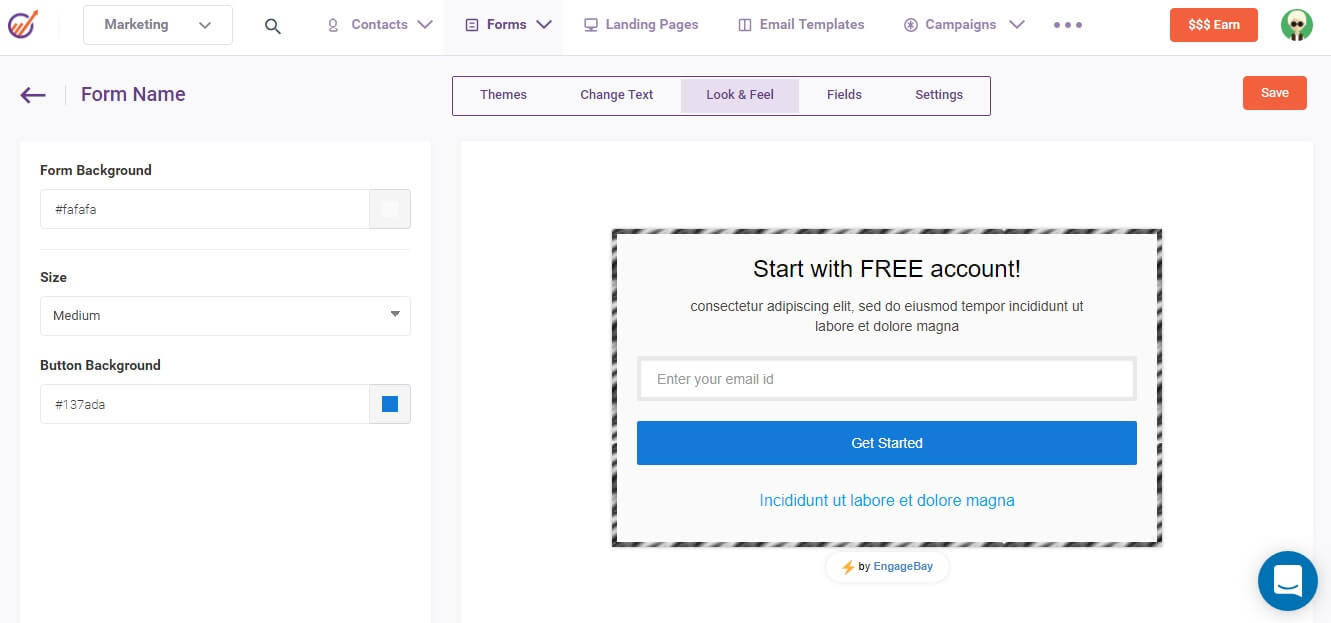
4. Click the 'Look and Feel' tab to make changes to form background color, button background, and button text color.
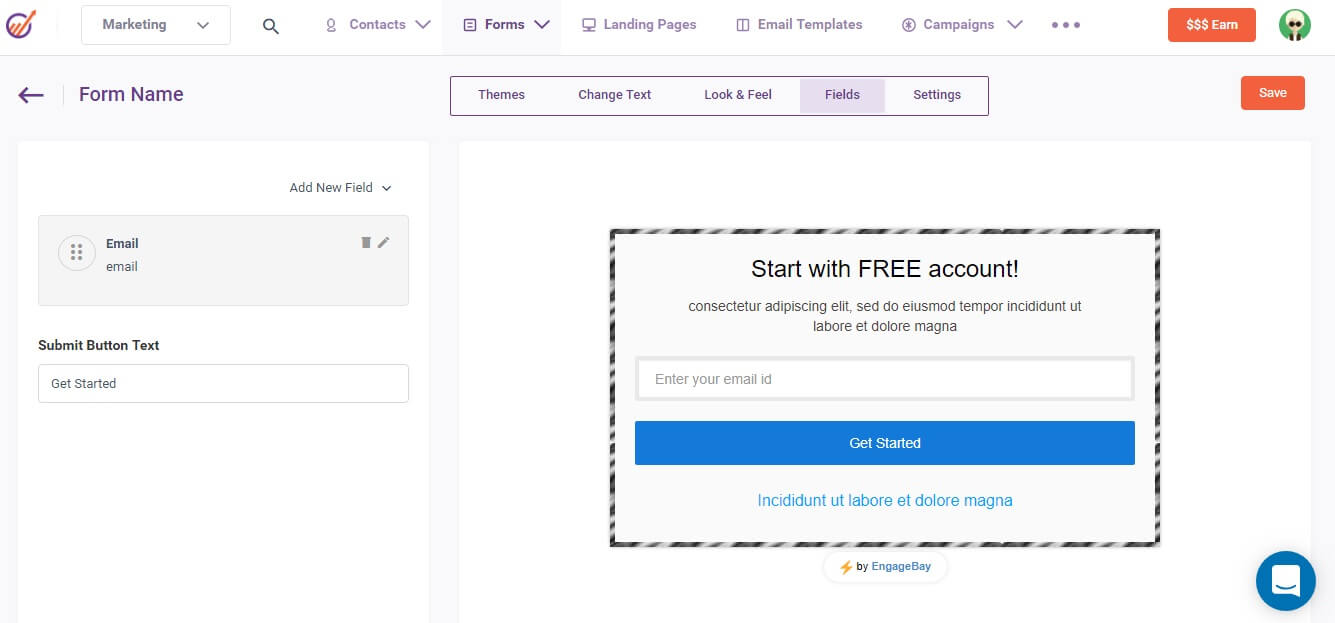
5. The 'Fields' tab allows you to customize existing fields, add fields if needed and also change the submit button text.
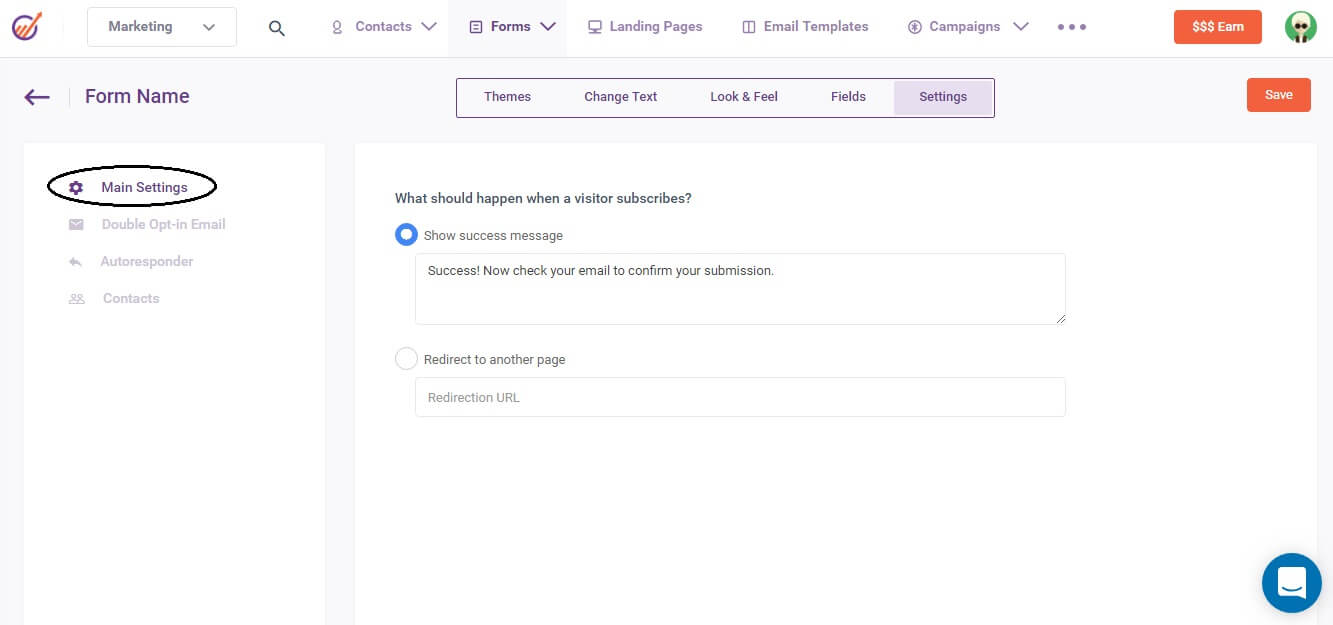
6. The Settings tab allows you to set the success message or a redirect URL for every subscriber on the form, under Main settings.
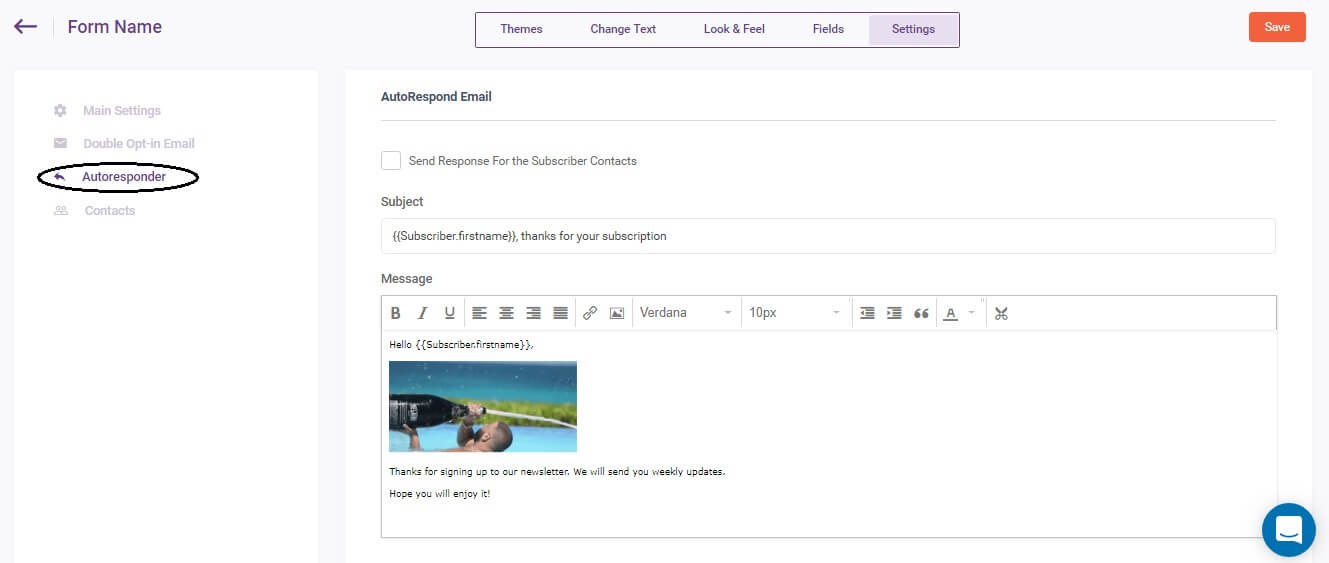
7. Configure Double opt-in Email, Before we proceed, let's understand what a Double Opt-in Email is.Typically, a visitor to a website that offers a newsletter will insert their email address in a form and click a button to subscribe. This is their first opting in. The site then sends a one-time confirmation email to the address entered asking the user to, in turn, confirm the email address. The new subscriber follows a link in the email or replies to the message. This is the second opt-in. On this page, you will be able to customize the Double Opt-in email message content.
8. You should be able to set an auto-responder email as well.
9. The Contacts option would show you the list of users that have subscribed to the form that you created and published.
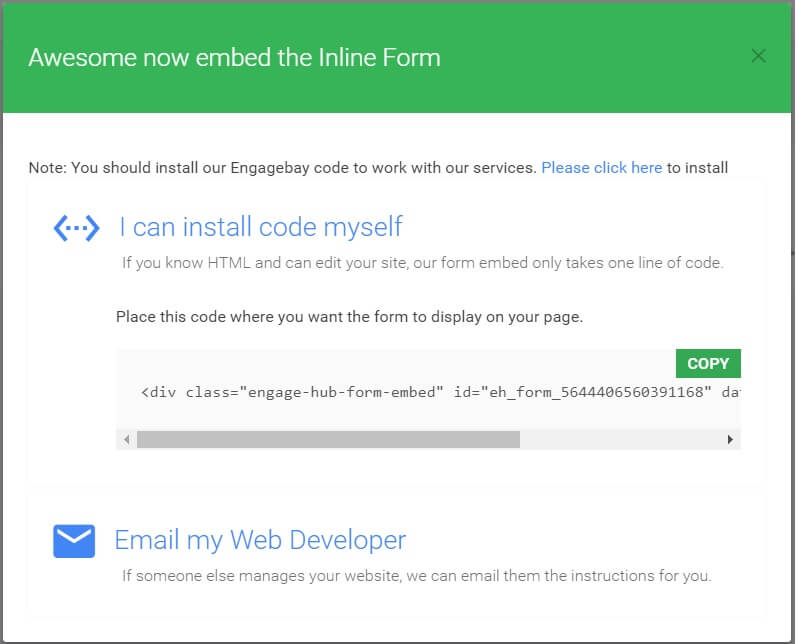
10. Once the Form is saved, it would generate an embed code that you could use to add the form to your website. You also have an option to email the code to the person who manages your site.
You may also get your embed code by clicking on an existing form listed under “Inline Forms” page to edit it. You then go to the “settings” tab then choose “Embed on the left side.
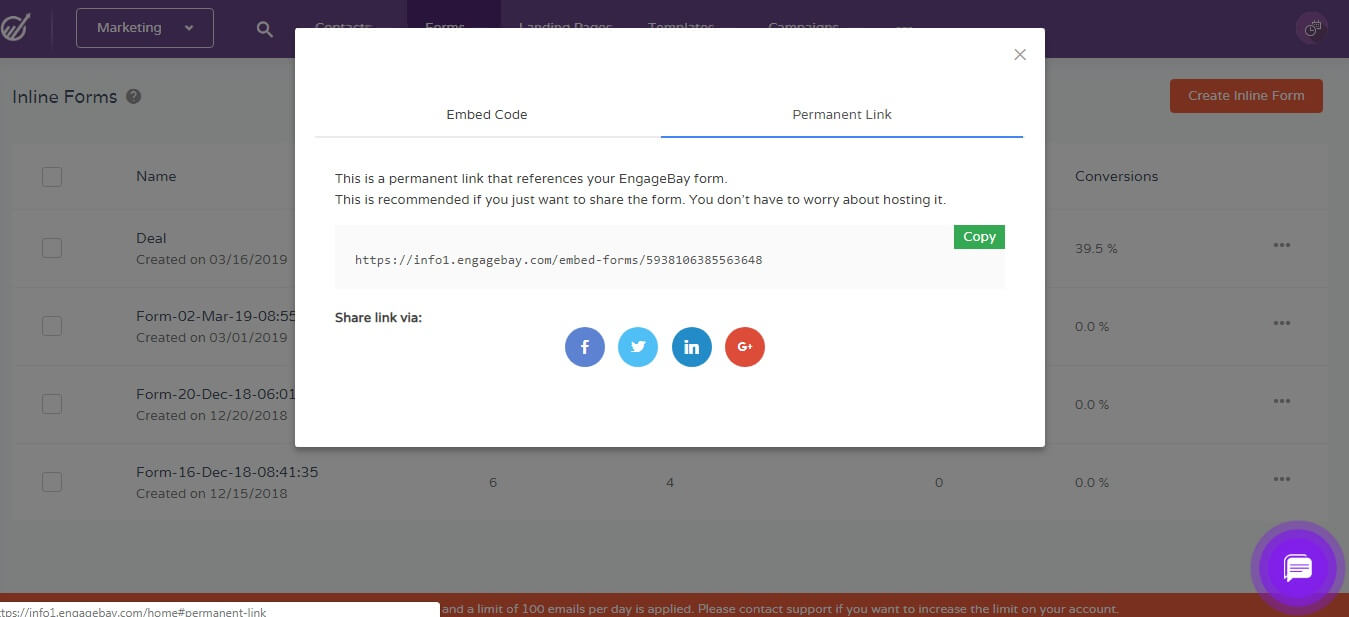
Another location to get the Embed code is by clicking the 3-dots on the right side of the listed forms and choosing "code" option.
It will not only give you access to embed code but will also show you the permanent Link of the form where it is hosted and can be accessed directly online.
I wanted to recommend EngageBay to all those small businesses out there that are looking to grow their businesses through a marketing and sales automation platform. We've been able to see a great adaption of our agency clients to the EngageBay platform and being able to leverage their digital marketing efforts.